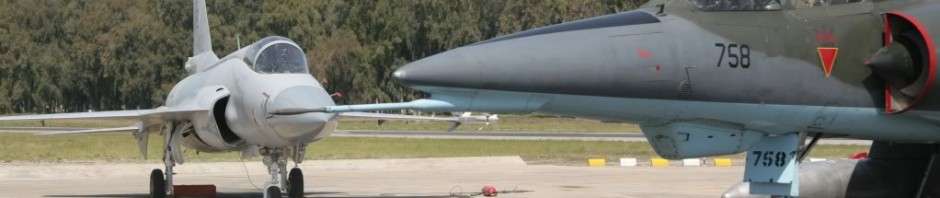
Filling seams and sanding model airplanes is an important process when building a model aircraft. There are things to consider to ensure natural looking aircraft models.
When building model airplanes, it is important to remove the seams and the joint lines. For most assemblies, crack and gaps become common through fitting. The most common issues pertain to the mating lines and wing roots of both sides of the aircraft’s fuselage.
Materials you’ll need for this project include different grades of sandpaper, a paint brush, sharp hobby knife, a container with some water and a paintbrush. You can also add the Tenax-7R and model putty.
If you’ll be utilizing hazardous materials as you build model airplanes, make sure there’s plenty of ventilation throughout your working space. Check the labels and warnings on the containers of these chemicals.
The first step is to weld the right and left sides with the Tenax-7R. Using medium pressure, hold he two sides of the fuselage together. Then, touch the whole seam with the use of a paintbrush.
When you’re done with the application, gradually add more pressure for the next ten seconds. Then, add another five minutes to let the weld dry up. Use the hobby knife to lightly scrape away excess chemicals.
If there
Article source: http://goodherald.com/how-to-fill-seams-and-sand-model-airplanes/
